This post is also available in:
![]() Français
Français
Use your Easyhosting Mail Manager to, umm, well, create and manage your domain mailboxes.
Access your Easyhosting Portal
In order to manage your Easyhosting services, you will first need to access your Easyhosting portal. You can find the portal login at https://premium.easyhosting.com/portal/.
You can find more information on your Easyhosting portal in this article.
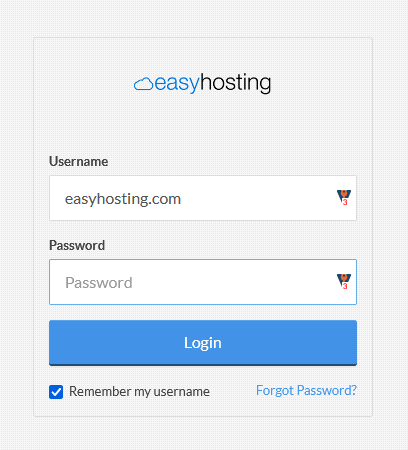
You will need to know your portal username and password.
Access the Mail Manager
Once you are logged into your Easyhosting Portal, you will need to navigate to the Mail Manager. There are a few ways to get there:
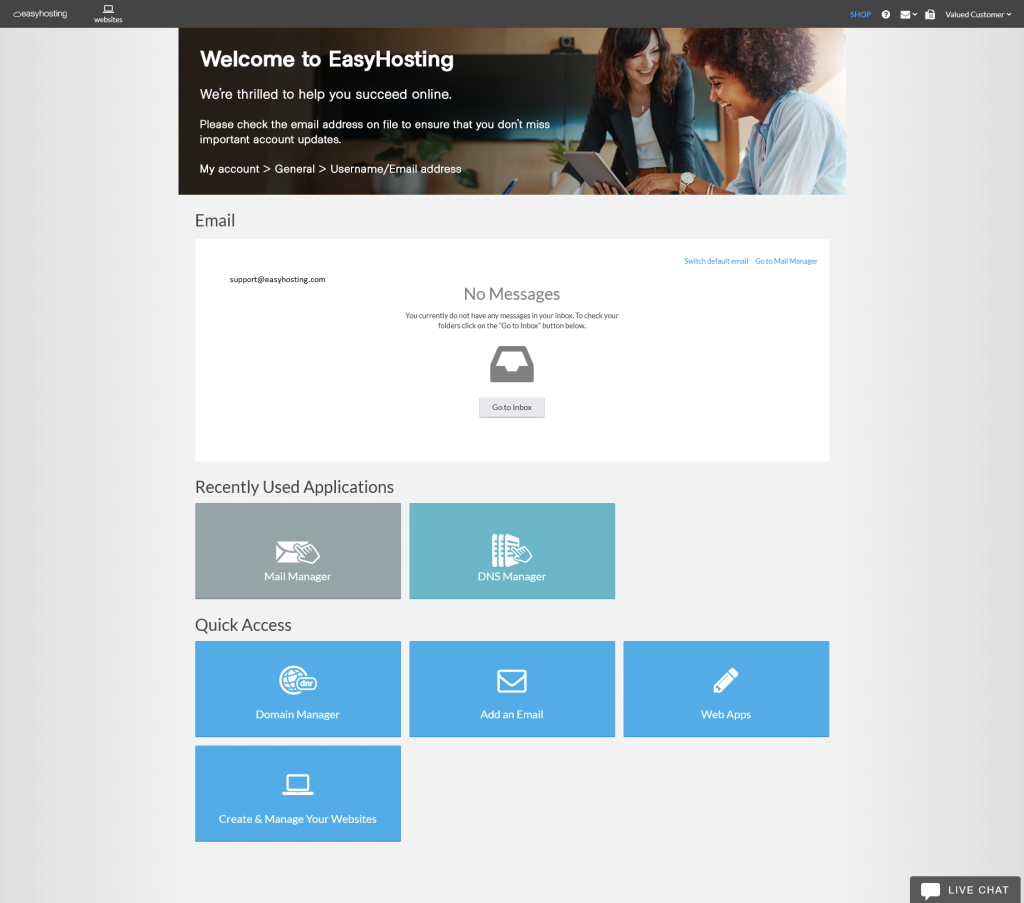
- Firstly, you can hover over the Mail icon in the upper right corner of your home page and choose Create/Manager Email from the drop down menu.
- In the Email section, you will see Go to Mail Manager in the upper right. Click this to access the Mail Manager
- You may see the Mail Manager tile shown in the list of Recently Used Applications. Click on it to access the Mail Manager
- In the Quick Access section, click on the Web Apps tile. You can then find the Mail Manager in the Email section
The Mail Manger
You will now be looking at your Mail Manger. Here you will be able to create, delete and manage all of your domain mailboxes.
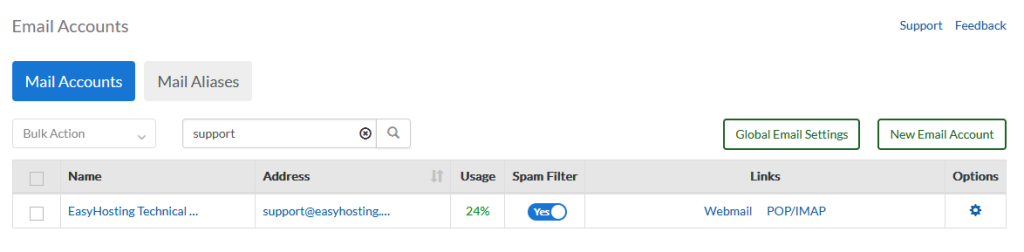
On the main page of your Mail Manager, you will see a list of all of your current mailboxes, with several buttons for managing your mailboxes.
Firstly, in the upper left, you will see buttons that will toggle you between Mail Accounts and Mail Aliases. While both are similar, they have different functionality.
Mail Accounts
By default, in the Mail Accounts section, you will see a table of all of your mailboxes. You will see several buttons for other tools as well:
Click any of the above to find out about these options. There is also more options available for each individual mailbox. You can access these options by clicking on either the mailbox Name, Address or the gear icon under Options.
- Check box
- used to select the mailbox for bulk actions
- Name
- the Full Name associated with the mailbox
- clicking this will show the account options page
- Address
- the mailbox name
- clicking this will show the account options
- Usage
- percentage of the mailbox disk space used
- Spam Filter
- shows if the spam filter is enabled
- click here to toggle the spam filter
- Links
- Webmail
- opens the mailbox Webmail in a new browser tab
- POP/IMAP
- displays the POP/IMAP information needed to set up your account on a device
- Webmail
- Options
- opens the account options page
Account Options
Clicking on any of the links mentioned above will display the Account Options page. This section has three tabs:
- Basic
- Spam Filter
- Away Message
Basic
In the Basic tab, you can update the mailbox information, including the email password.

- Full Name
- name of the account user
- you can edit this here
- Email
- the mailbox name
- while you can update the mailbox name here, it is not recommended
- Password
- the email password
- below, you will see buttons to Generate a new password, or show the current password
- Forwarding
- enable email forwarding for this mailbox
- once enabled, you will see options to enter the mailboxes to forward to and an option to leave a copy in this mailbox
- you can forward to more than one mailbox
- Time Zone
- select the users time zone
- Storage
- shows the current disk usage of the mailbox
Once you have made your changes, click on the Save button to complete the changes, or you can choose to Cancel.
Spam Filter
You can adjust your mailbox spam filter in this section.
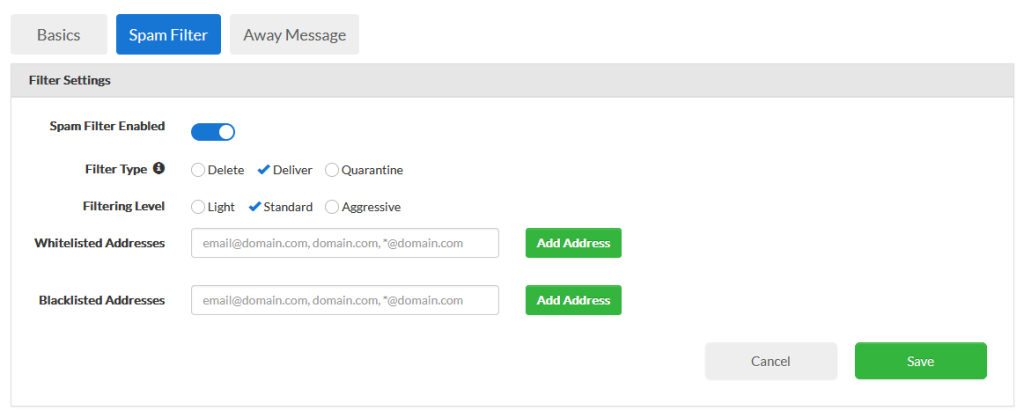
- Spam Filter Enabled
- toggle your spam filter
- it is recommended to leave this feature enabled
- Filter Type
- choose what the filter does with detected spam
- Delete – permanently deletes flagged spam email
- Deliver – flags the message and delivers to the mailbox
- Quarantine – flags the message and moves it to your Spam folder
- choose what the filter does with detected spam
- Filtering Level
- sets the threshold for a message to be flagged as spam
- Standard should be fine for most users
- if you are getting many false positives, you should use Light
- if you are getting many false negatives, use Aggressive
- Whitelisted Addresses
- any addresses that you wish to bypass the spam filter and be delivered regardless of the spam score can be added here
- you can add up to 255 address
- wildcards are acceptable as well (ie. *@domain.com)
- Blacklisted Addresses
- blacklisted addresses will be filtered regardless of the spam score
- these messages will be handled as spam and processed in the method chosen in your Filter Type setting
- just as with the whitelist, you can add up to 255 addresses and wildcards are accepted
Once you have made your changes, be sure to click on Save to complete the changes. If you do not wish to make the changes, click the Cancel button.
Away Message
You can set an Away Message that will be sent to any account that messages the mailbox. This can be useful when you will be away from your desk for extended periods (vacation, leave, etc.) or if a mailbox is no longer managed.
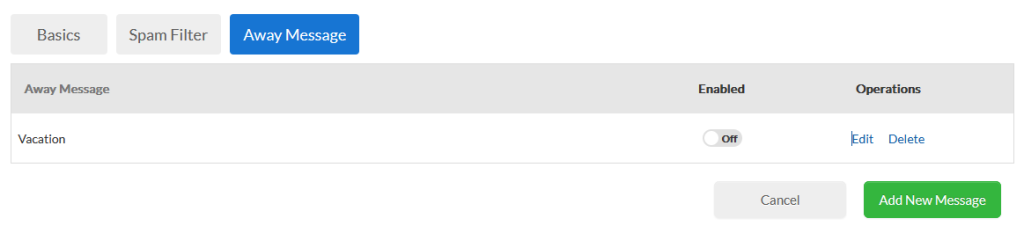
Click on Add New Message to create an Away Message.
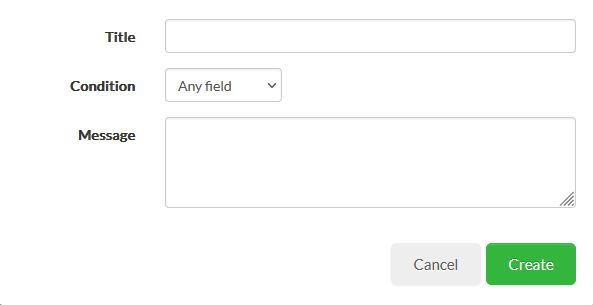
- Title
- you should give your message a Title, so you can easily manage it later on, but it is not necessary
- Condition
- choose on what condition the reply message will be sent
- set what conditions must be met for the message to be sent
- select Any Field if you wish for the message to be sent for all incoming messages
- you can choose have the message only be triggered if certain text is found in one of the email fields (To, From, CC, Subject)
- choose a field and enter the text that you wish to trigger the message
- enter the text that needs to be found in the field to trigger
- Message
- lastly, you can enter the message that will be sent to any sender that meets the above requirements
You can have several messages set up at any time.
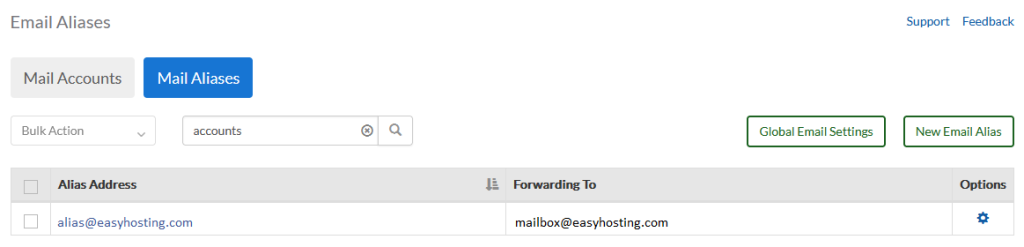
Mail Aliases
A Mail Alias is basically a fake email address that forwards any mail it receives to a different, or possibly several, mailboxes. These mailboxes do not have disk space associated with them and will never fill. There are many reasons that you may wish to use an alias account:
Mail Groups
You can set up an alias for a group of mailboxes so any email sent to this address will be forwarded to each mailbox. For example, if you have several sales agents, each with their own mailbox, you can set up an alias called sales@domain.com and have it forward to each of your agents. Not only will all of your agents get these messages from potential clients, any internal notifications can be sent to there as well. Plus, you can easily manage the users that receive these messages as new agents are added and some leave.
Hiding names or domains
If your users all have their real names as their email address, and you do not wish to publish these names, you can use an alias mailbox instead. If your users have any legal questions, you can put legal@domain.com on your website and have it forward to your lawyer’s mailbox. Note that this will work even if you lawyer does not use your domain name.
Protect from missing emails
If you have an employee that is no longer with your company, you can set up their old mailbox as an alias to ensure that any mail is not lost once their mailbox is removed. You can set up the old account as an alias that will forward the messages to whoever is replacing that employee. Then, if any old clients reach out to your business, you will know.
Nicknames
If you have users that are known as a nickname (Bob, Rob, Bobby, Buddy, etc.), or, if you have a name that is commonly misspelled, you could set up alias accounts to forward to the actual mail address. Then you will only need to manage one mailbox, without the fear of missing messages.
While these are some of the common uses of Mail Aliases, you may find your own uses to suit your needs. As these accounts do not count towards your used email accounts, you can experiment as much as you like.
Global Email Settings
The Global Email Settings allow you to manage some settings that affect all of your domain mailboxes.
Catch-all
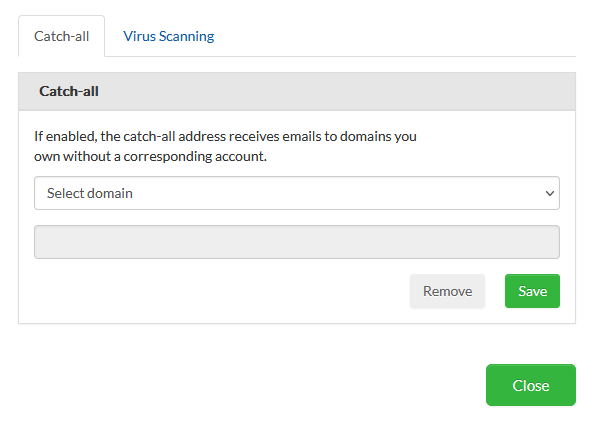
Here you can set a mailbox where any mail that is addressed to your domain but there is no mailbox for that address is sent. By default, this mail is deleted.
While it may seem to be a good idea to ensure you never miss any emails, this mailbox will be filled with spam messages fairly quickly, so use with caution.
Choose your domain from the drop down list and enter the target mailbox.
Virus Scanning
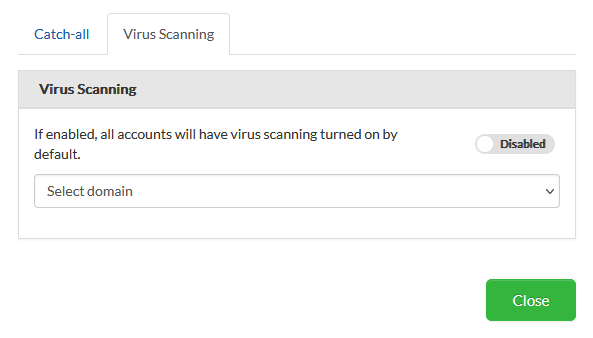
In this section, you can choose if Virus scanning is on by default for any of your mailboxes. It is advised that this should be enabled for all of your domains.
This will affect any new mailboxes, but will not update any existing mailboxes.
New Email Account
While adding a new email account is fairly straight forward, you can find more information here.
Still need help?
If you are in need of assistance, you can contact our support staff using one of the following methods:
Send us an email – 24/7/365
- Technical Support
- Billing Issues
- Sales Inquires
Live Chat – 24/7/362
Access our Live Chat support team from your Easyhosting Portal
Phone Support – Monday to Friday, 9:00am to 7:00pm EST
Call one of our Phone Support team members anytime between 9:00am and 7:00pm, eastern time at 1-888-390-1210.