This post is also available in:
Français
A domain based email account will make your business look more professional to potential customers.
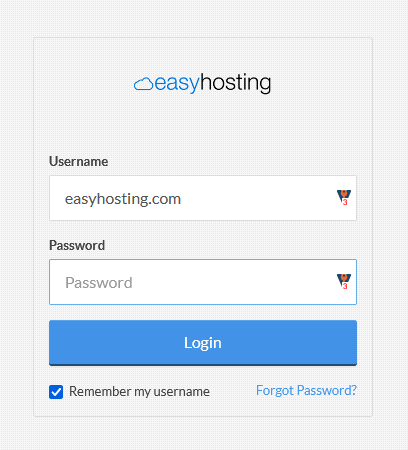
Access your Easyhosting Portal
In order to manage your Easyhosting services, you will first need to access your Easyhosting portal. You can find the portal login at https://premium.easyhosting.com/portal/.
You can find more information on your Easyhosting portal in this article.

You will need to know your portal username and password.
Access the Mail Manager
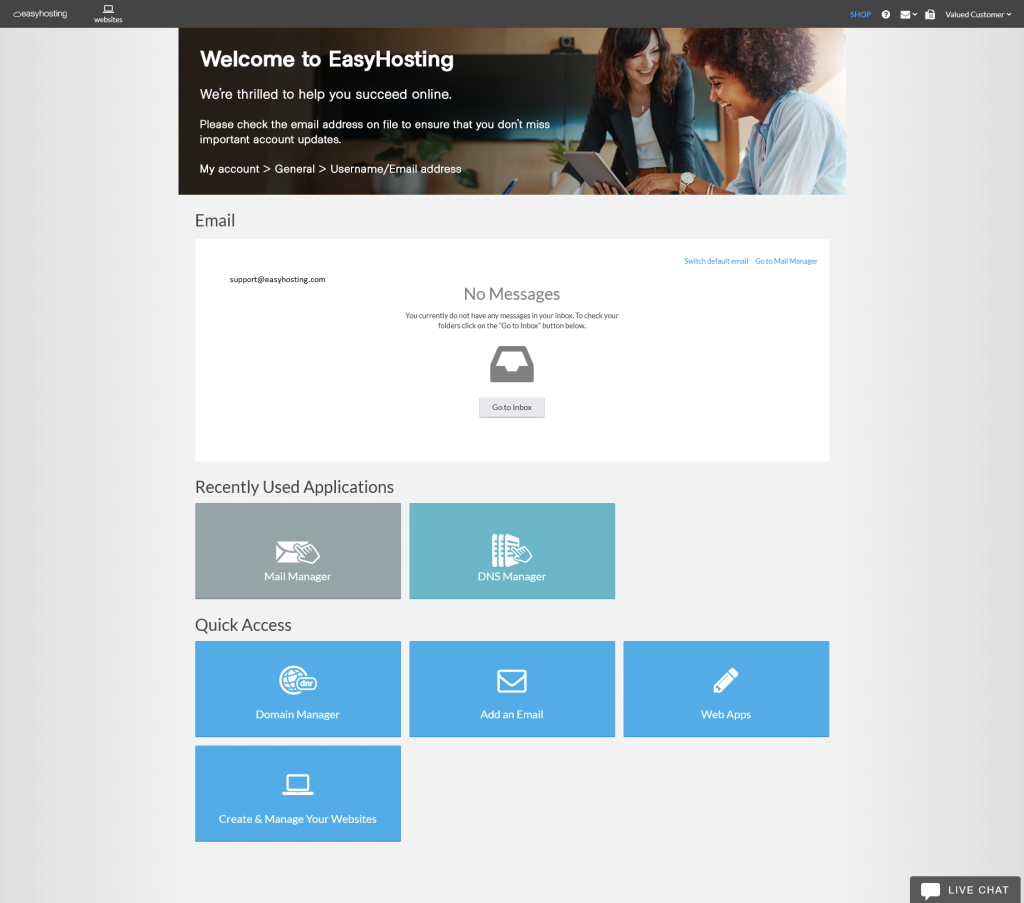
Once you are logged into your Easyhosting Portal, you will need to navigate to the Mail Manager. There are a few ways to get there:

- Firstly, you can hover over the Mail icon in the upper right corner of your home page and choose Create/Manager Email from the drop down menu.
- In the Email section, you will see Go to Mail Manager in the upper right. Click this to access the Mail Manager
- You may see the Mail Manager tile shown in the list of Recently Used Applications. Click on it to access the Mail Manager
- In the Quick Access section, click on the Web Apps tile. You can then find the Mail Manager in the Email section
Creating a new mailbox
You will now be looking at your Mail Manager. We will go over the Mail Manager in this guide. For now, we will focus on creating a new mailbox.

Once you are in your Mail Manager, you can create a new mailbox. In the upper right of the Mail Manager, you will see the New Email Account button. Click it to begin.

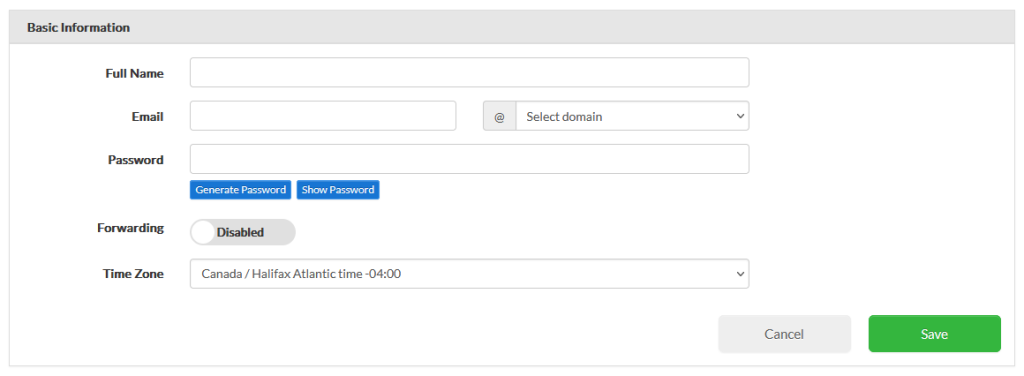
Fill out the fields for your new mailbox
- Full Name
- The full name of the user of this account
- This can be anything and is not used when setting up your account
- Email
- the name of the mailbox
- this will be the part before the @ symbol
- choose your domain from the drop down menu
- Password
- choose a strong password for your mailbox
- password must be:
- at least 8 characters
- contain at least one character, symbol and two digits
- be sure to remember your password as you will need it to set up any mail clients
- Forwarding
- if you want this email to forward its mail to another mailbox, enable this option
- you will need to provide a mailbox to forward any mail to (you can choose multiple mailboxes)
- you can choose whether to keep a copy of the email in this mailbox
- Time Zone
- choose the Time Zone of the account user
- this is for convenience only and can be changed later
Once you have all of your information entered, click on Save to create you new mailbox.
Congratulations!! You can now start using your new email address right away.
If you would like to add this mailbox to your devices, check this guide.
Still need help?
If you are in need of assistance, you can contact our support staff using one of the following methods:
Send us an email – 24/7/365
- Technical Support
- Billing Issues
- Sales Inquires
Live Chat – 24/7/362
Access our Live Chat support team from your Easyhosting Portal
Phone Support – Monday to Friday, 9:00am to 7:00pm EST
Call one of our Phone Support team members anytime between 9:00am and 7:00pm, eastern time at 1-888-390-1210.
