This post is also available in:
![]() Français
Français
You can check your Easyhosting domain based email from any device with internet access.
Accessing your Easyhosting Webmail
There are a few methods of accessing your Easyhosting Webmail account. The easiest of which is by going to the following URL:
https://webmail.easyhosting.com/#/login
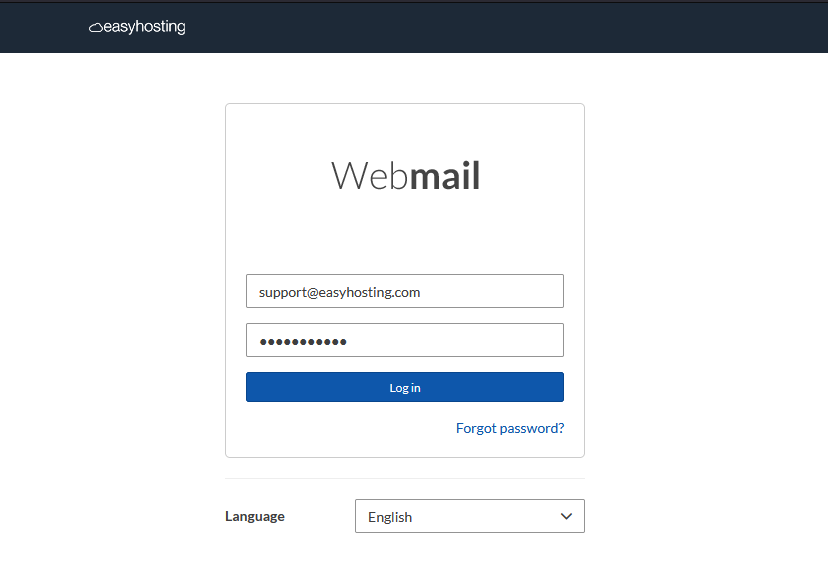
Enter your email address and password and click on the Log In button to access your Webmail.
Other methods
If you do not know your email password, you can update it from your Easyhosting Portal. From your portal, you can access your Mail Manager and update your password from there. There is also an option to log into your Webmail directly. You can find more information on the Mail Manager here.

Clicking on the Webmail link next to your mailbox will log you in to the webmail dirrectly, without needing to enter the password
The Webmail home page
Once you are logged in to your Easyhosting Webmail, you will see the webmail home page.
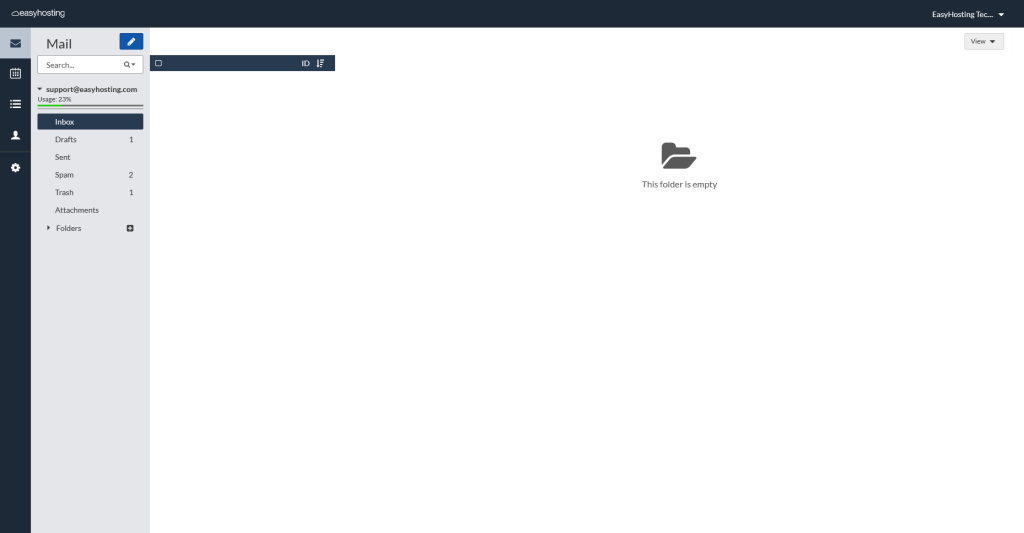
This page is divided into three sections:
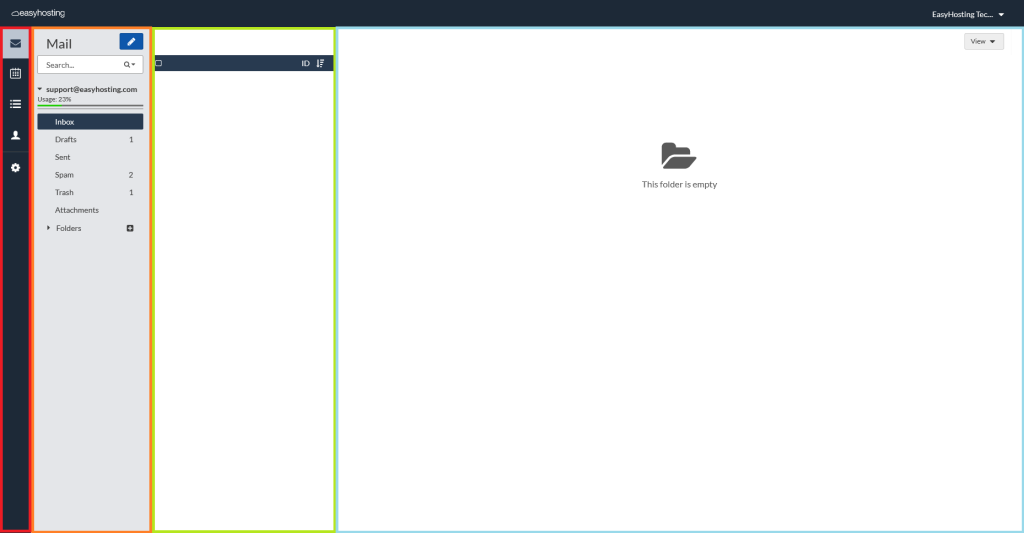
Menu Bar

The Webmail Menu Bar, found on the far right, is where you can manage your webmail appearance, as well as functionality. You can also manage aspects of the mailbox from this menu, including updating your email password.
The current section is highlighted in the menu bar. In this example, the Mail page is active.

This is the default page for your Webmail, and will be loaded when you log into your webmail account. Here is where you can manage your account emails. View, organize and delete emails from this section.
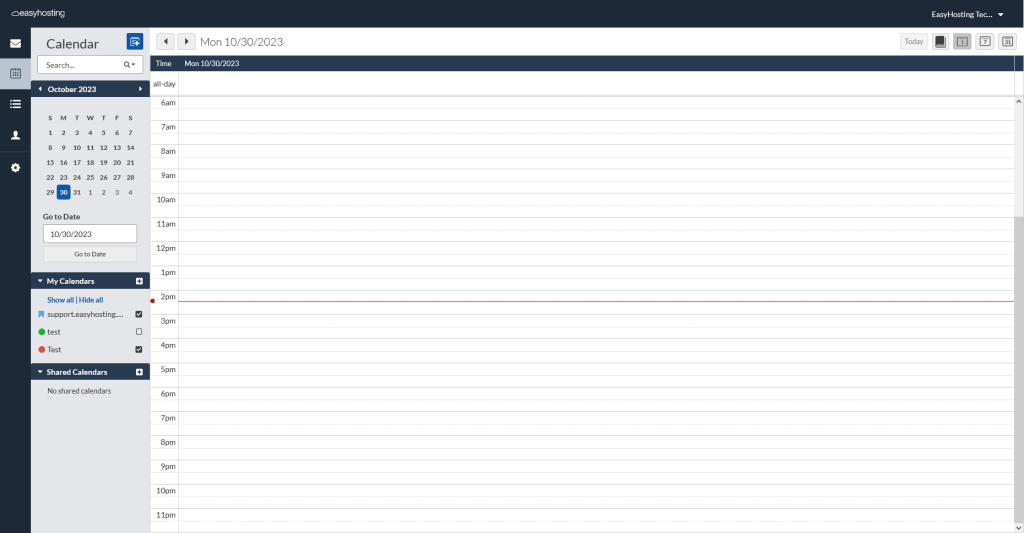
Calendar

Your webmail also includes a calendar that you can use to manage appointments or other important dates. You can share your calendar with other users on the same Easyhosting account.
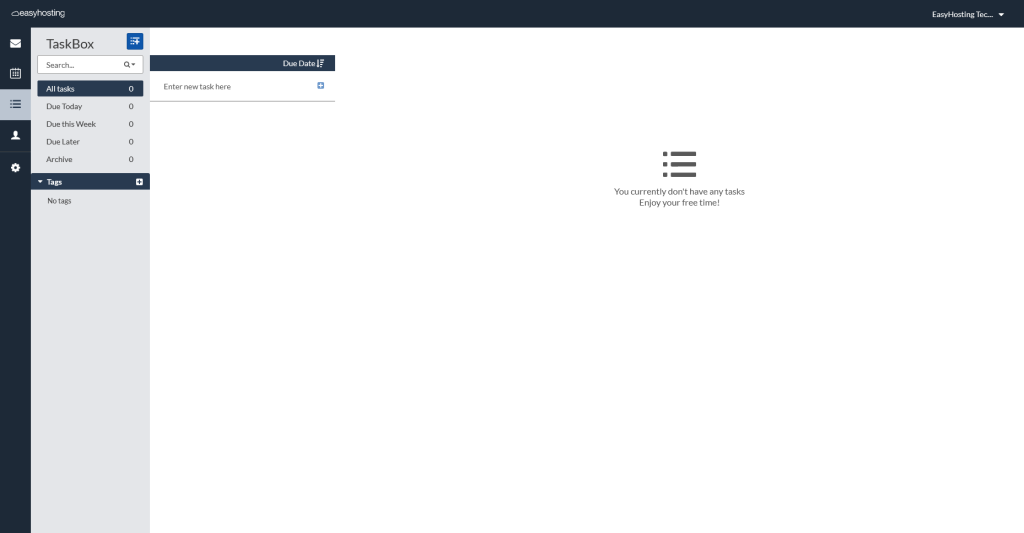
Task Box

The task box will help you manage your time allow you to keep track your jobs and projects.
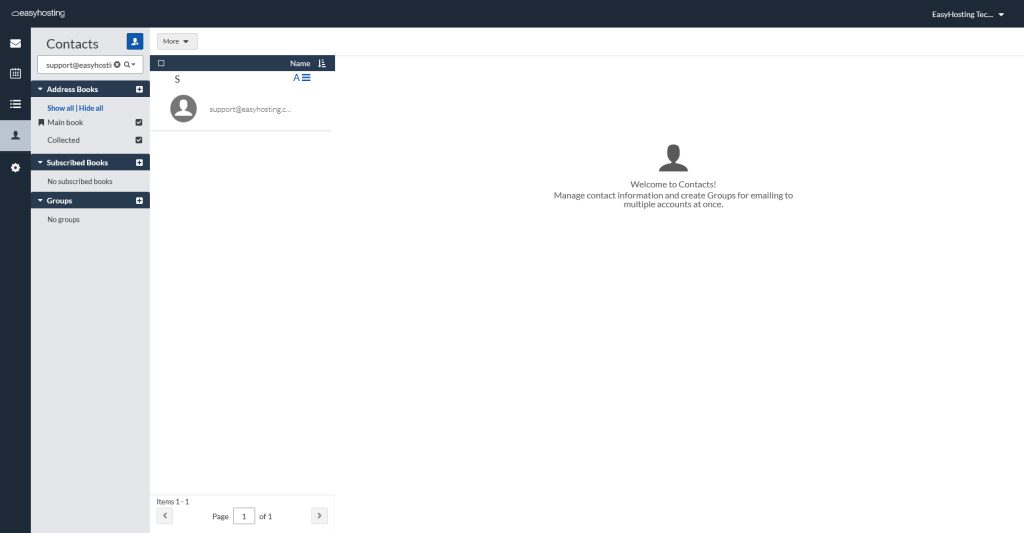
Contacts

The contacts section will allow you to manage all of your email contacts. Webmail will automatically add any received mail to your contact list (this option can be managed in your options). You can also share your contacts list with other users on your Easyhosting account.
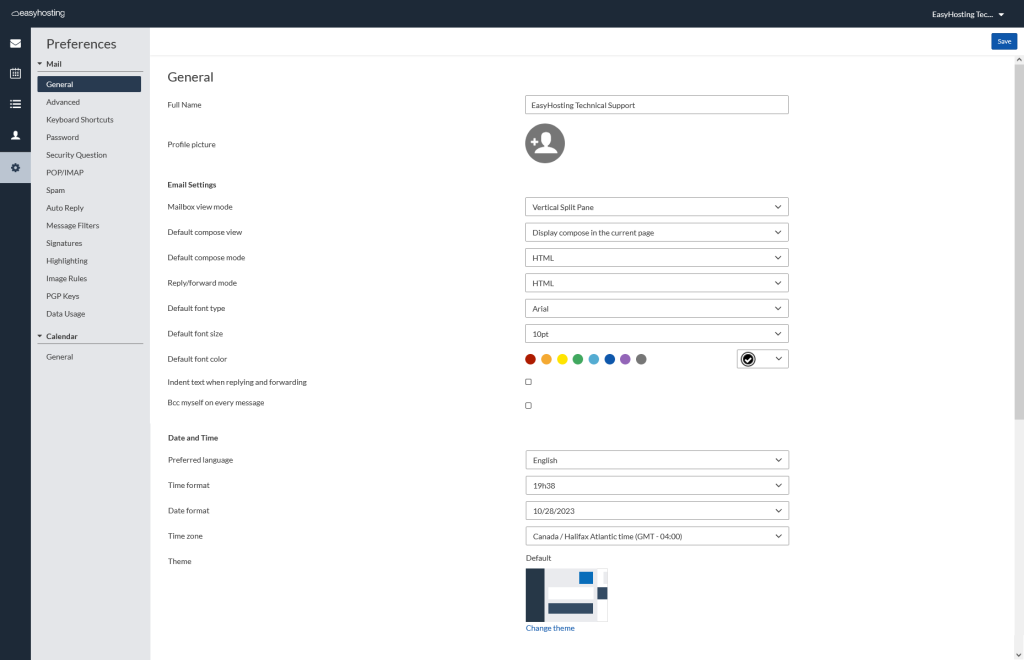
Settings

This is where you can customize your webmail to your own preferences. We will go more in depth on the webmail setting in this article.
Folder List
In this section, you will see a list of all of the folders that are currently set up in your mailbox.
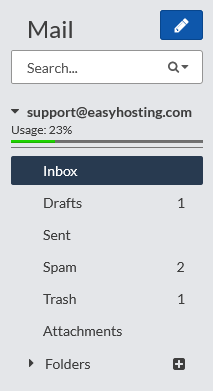
At the top of this section, you will see the Compose a new message button. Click this to start writing a new message.
Next, there is the Search box. You can use this to find a message in your mailbox. You can search by subject, sender, recipient or message text.
Below the search box, you will see a gauge showing how much of your disk space you are currently using. If you fill your mailbox, new messages will be bounced back to the sender, so it is important to ensure that you have free space.
Finally, you will see a list of the folders in the mailbox. At the top of the list there are some folders that are created by default (Inbox, Drafts, Sent, etc.). Clicking on a folder in this list will show the messages contained in that folder in the Email List.
You can also create your own custom folders that can be used to store and organize your mail. They will be shown by clicking on the small triangle next to Folders.
There may be some folders that your mail clients on other devices create. They will be shown here as well.
These folders can also be accessed from any IMAP mail client.
Email List
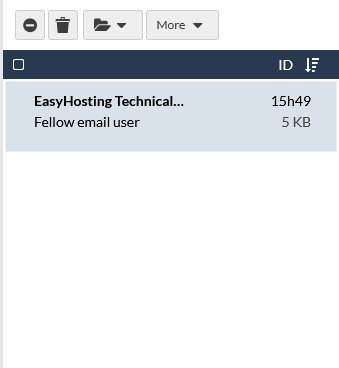
The email list contains several tools to manage your mailbox, as well as a list of all of the mail in your currently selected folder. You can select your folder in the Folder List.
Above the title bar, you will see Bulk Action buttons to manage your emails.
Next, in the Title Bar, there are a few buttons as well.
Finally, you will see the Email List.
Bulk Actions
Clicking on these will perform the action to all of the currently selected emails. See the table below for information on these buttons.
| Send to Spam Click this button if you believe this message is spam. | |
| Delete the current email | |
| Move to Folder Clicking this will show a list of all of your folders. Click the folder to move the message | |
| More Clicking on this will show more options to manage the message. See below for more information on these options. |
Title Bar
The title bar also has some tools included within it.
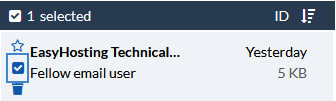
On the far left of the title bar, there is a checkbox. Clicking on this box will select all of the messages that are currently in the email list. Note that if you have several pages of emails, it will only select the currently displayed messages.
When you have an email (or several) selected, you will see the number selected in the Title Bar.
On the right side of the title bar are your sorting options. You can choose what to sort your messages by (ID, Date, Sender, etc.) by clicking on the currently selected method, ID in this example. The icon to the right of the sorting method will change the sorting method from ascending to descending, and visa versa.
Email List
When you mouse over any message, you will see the three icons on the far right appear.
- You can add a star to the message, so you can find it again later
- The checkbox will add the message to you currently selected messages for you to use your Bulk Action buttons
- Click on the trash can to delete the message directly
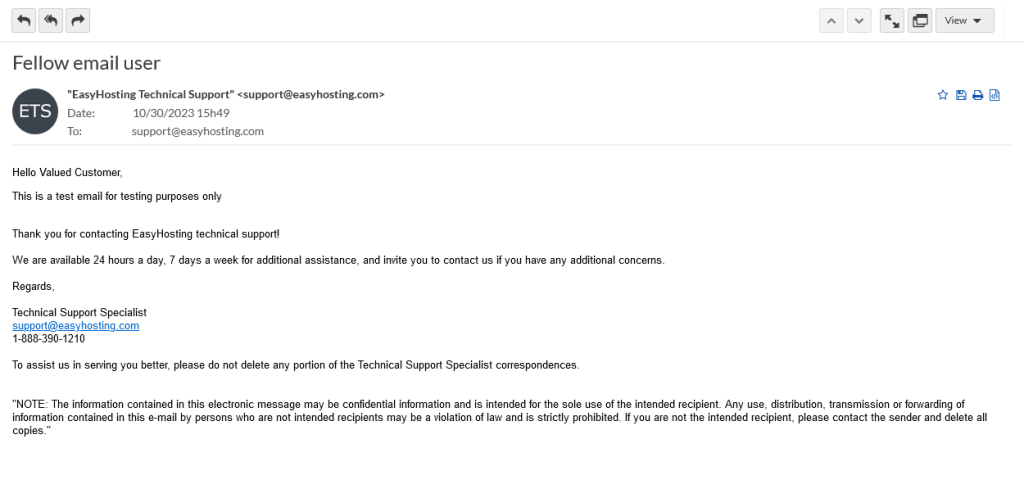
Preview Window
Finally, we have the Preview window. Here, you can read your message and respond to it if necessary. There are several tools here as well.
Reply or Forward
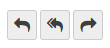
In the upper left, you have the Reply, Reply All and Forward buttons. Clicking on any of these icons will open the Compose Message screen.
- Reply – sends to only the sender of the message
- Reply All – sends to all of the sender addresses, as well as any CC addresses
- Forward – allows you to forward the message to another address
View and navigation
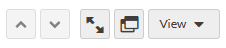
On the upper right, you will see more buttons to help navigate your messages.
- Previous/Next message – load the previous or next message in the current folder
- Expand message – open the email in the full window for easier reading
- New window – open the message in a new browser window
- View – change the current layout of your webmail
Message options
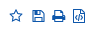
Finally, you have some icons on the body of the email. These buttons help you manage your emails as well.
- Star – add a star to your message to make it easier to find
- Save – save your message to your local machine by downloading it
- Print – send the message to your printer
- View source – see the raw email including hidden email headers (this can be very helpful for tech support to help resolve mail issues)
Still need help?
If you are in need of assistance, you can contact our support staff using one of the following methods:
Send us an email – 24/7/365
- Technical Support
- Billing Issues
- Sales Inquires
Live Chat – 24/7/362
Access our Live Chat support team from your Easyhosting Portal
Phone Support – Monday to Friday, 9:00am to 7:00pm EST
Call one of our Phone Support team members anytime between 9:00am and 7:00pm, eastern time at 1-888-390-1210.